Floor Plan in Aranet Cloud

aranet-techsupport
Posted: 22.02.2023 11:07
Modified: 16.02.2026 19:43
Floor Plan introduced in Aranet Cloud v. 1.7.26.
Plan is analytical tool that allows to visualize sensor data on user-selected image - either floor plan, map, or any picture that describes sensor placement in your environment.
All Aranet Cloud workspace members with "Plans" read permission can access the Plans. Write permission must be granted to the Aranet Cloud Workspace member for the ability to manage plans:

Floor plans in Aranet Cloud are created under Plans section:

Before creating a plan in Aranet Cloud, prepare the image(s) you are going to use as the plan's background. Raster images in .jpg or .png formats max 16000 x 16000 px, max 20 MB can be uploaded.
Press CREATE NEW PLAN button to start, new pop-up window will open where you can give plan a Name, upload image, enter Description and select Location to which the plan belongs:
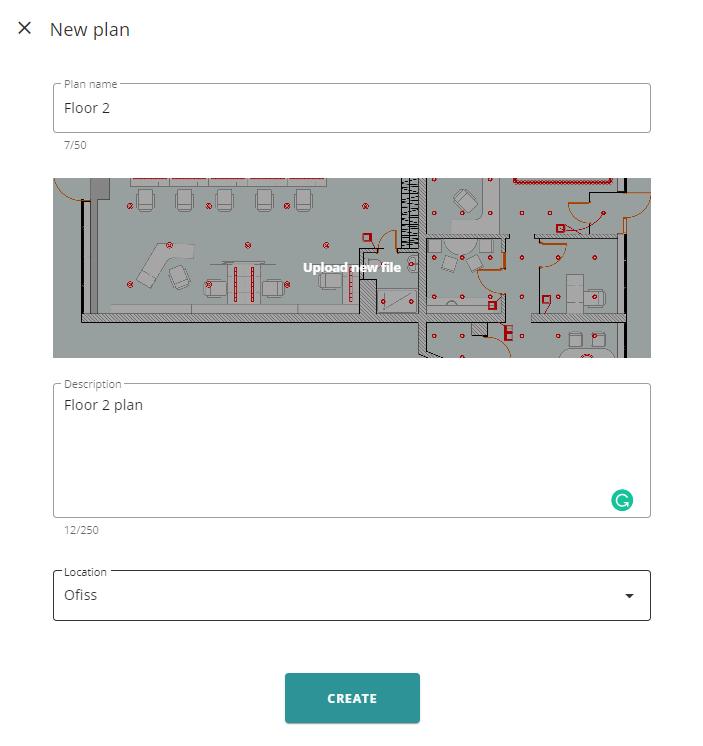
When finished, press CREATE button.
After the time needed for image processing new window will open:
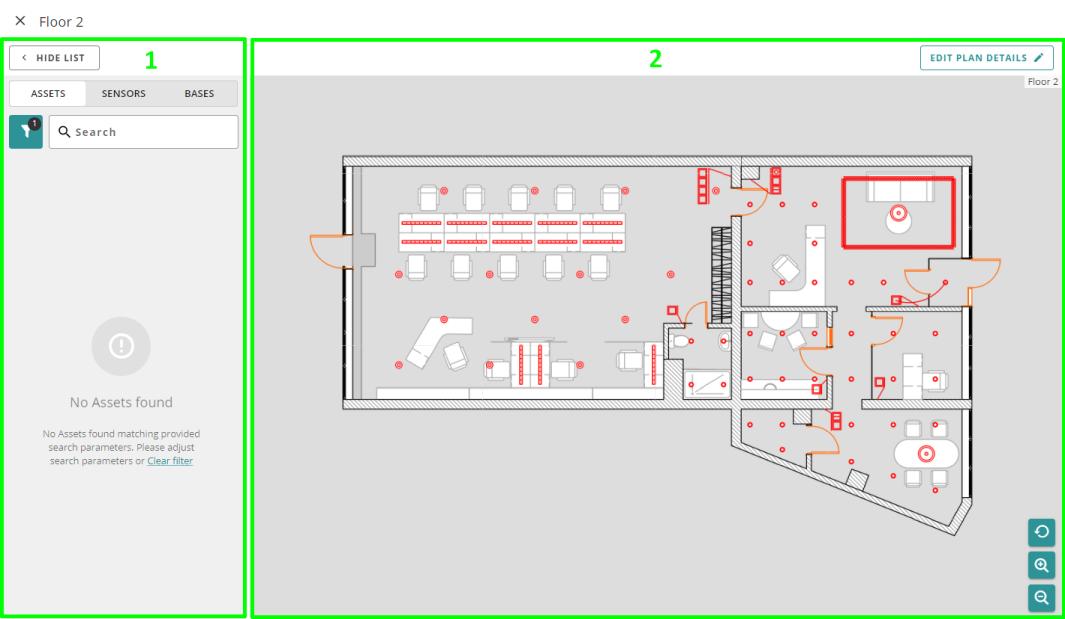
On the left side of the window (1) there is list of Objects which you can place on the plan. The Plan manipulation view is on the right side (2): you can zoom in and out of the view for more precise object placement.
Objects are filtered already by the Location chosen in the previous step. Select the objects - ASSETS, SENSORS, and BASES from the list and drag and drop them on the plan:
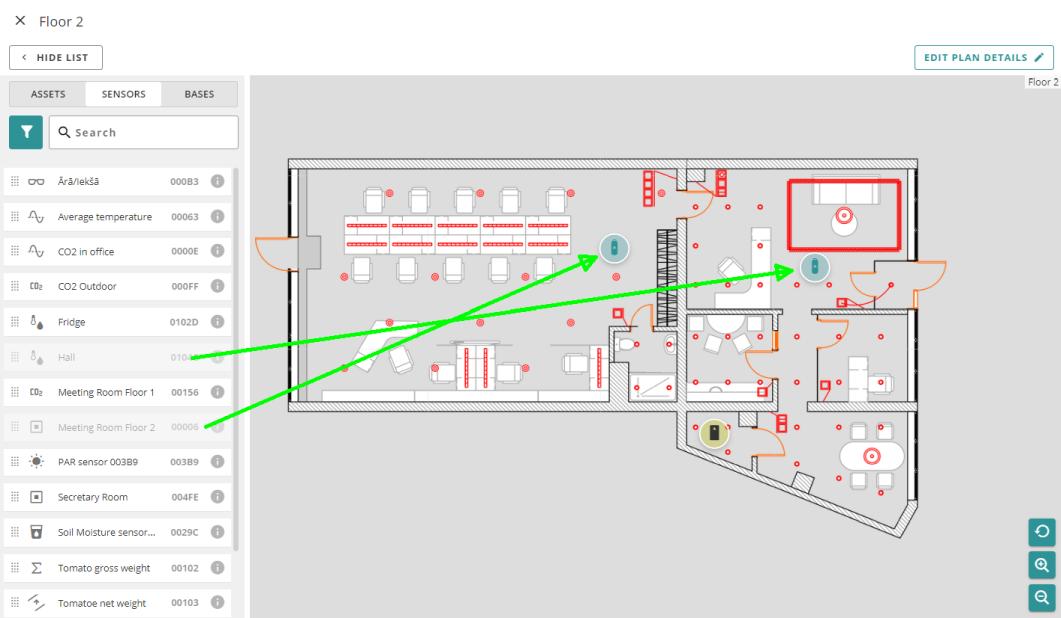
One sensor can be placed on several plans as well as one sensor can be placed on one plan several times.Adjust placement with greater zoom if needed. If hoover your mouse over the object, its information and current sensor measurements are displayed:
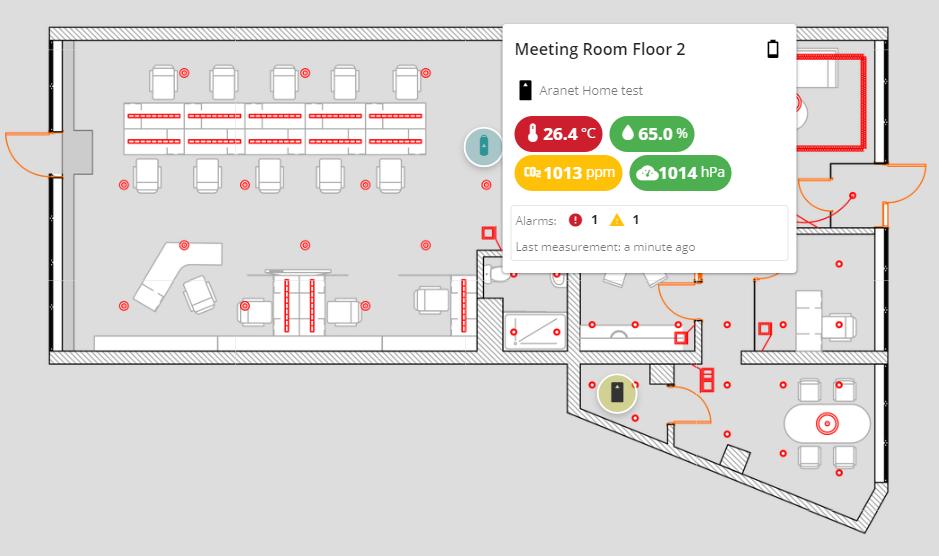
If you click on the object, its icon properties window opens:
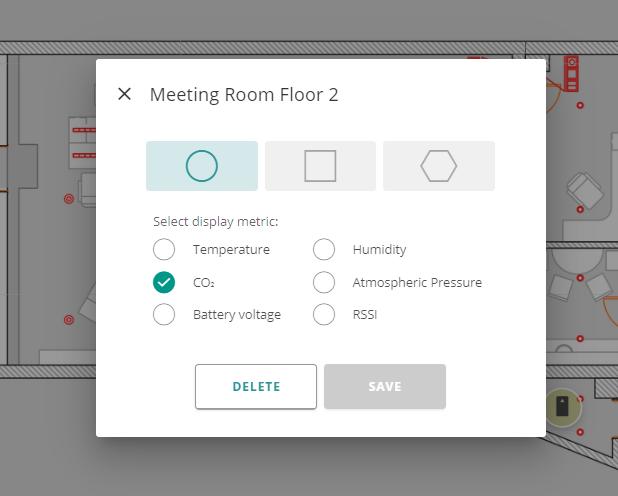
You can select the shape of the icon and the metric displayed on it, as well as delete the object from plan.
Close the plan editing window when finished placing objects. You will be returned to Plans section. Now the PLANS tab displays all created plans with information about the number of
a) Sensors,
b) Bases,
c) As well as allow their editing

Created Floor Plans are accessible under the Plans section:

Click on:
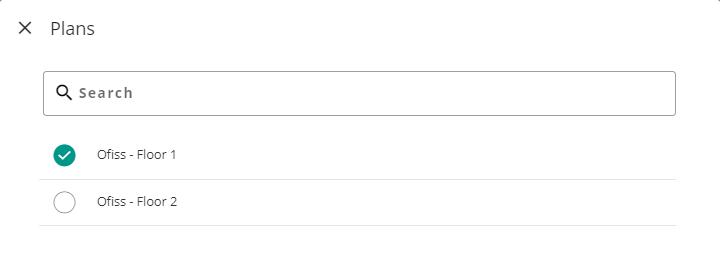
a) button to switch between active plans
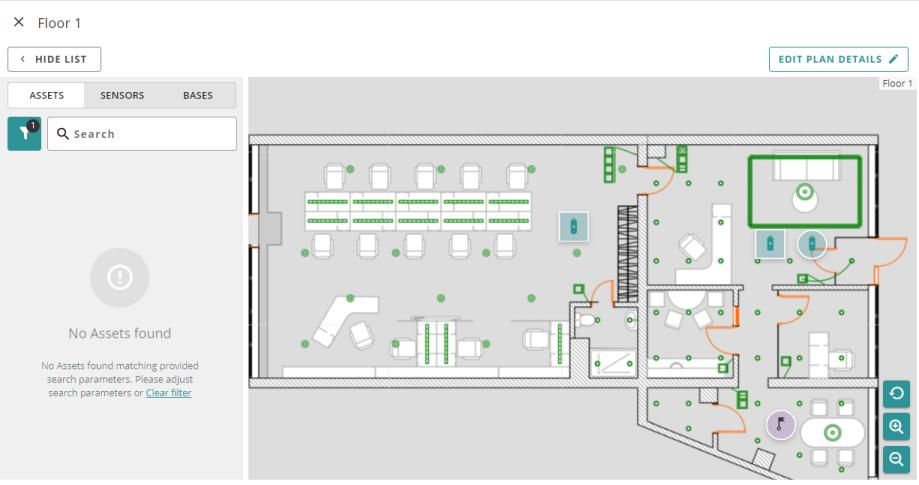
b) pencil button to edit the current plan
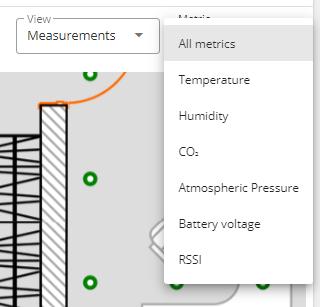
c) drop-down list to switch between layers displayed
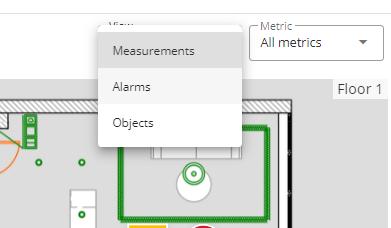
d) drop-down list to select the metrics displayed: only sensors with the chosen metric (selected during object configuration, see object properties) will be displayed.
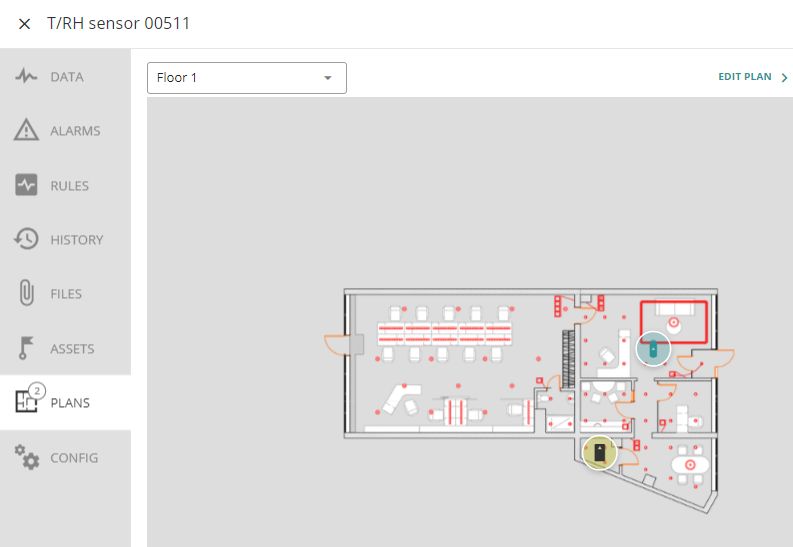
Note the PLANS tab on the sensor's card. Here you can see the plan(s) with the selected sensor and the base it is paired to visible only:
You have to log in to reply.