How to invite users to your Aranet Cloud workspace?

aranet-techsupport
Posted: 02.12.2021 11:05
Modified: 16.02.2026 22:10
Once the workspace is created the Owner of the workspace can send e-mail invitations to any other person outside the Aranet Cloud or some other already existing Aranet Cloud account user to join the workspace.
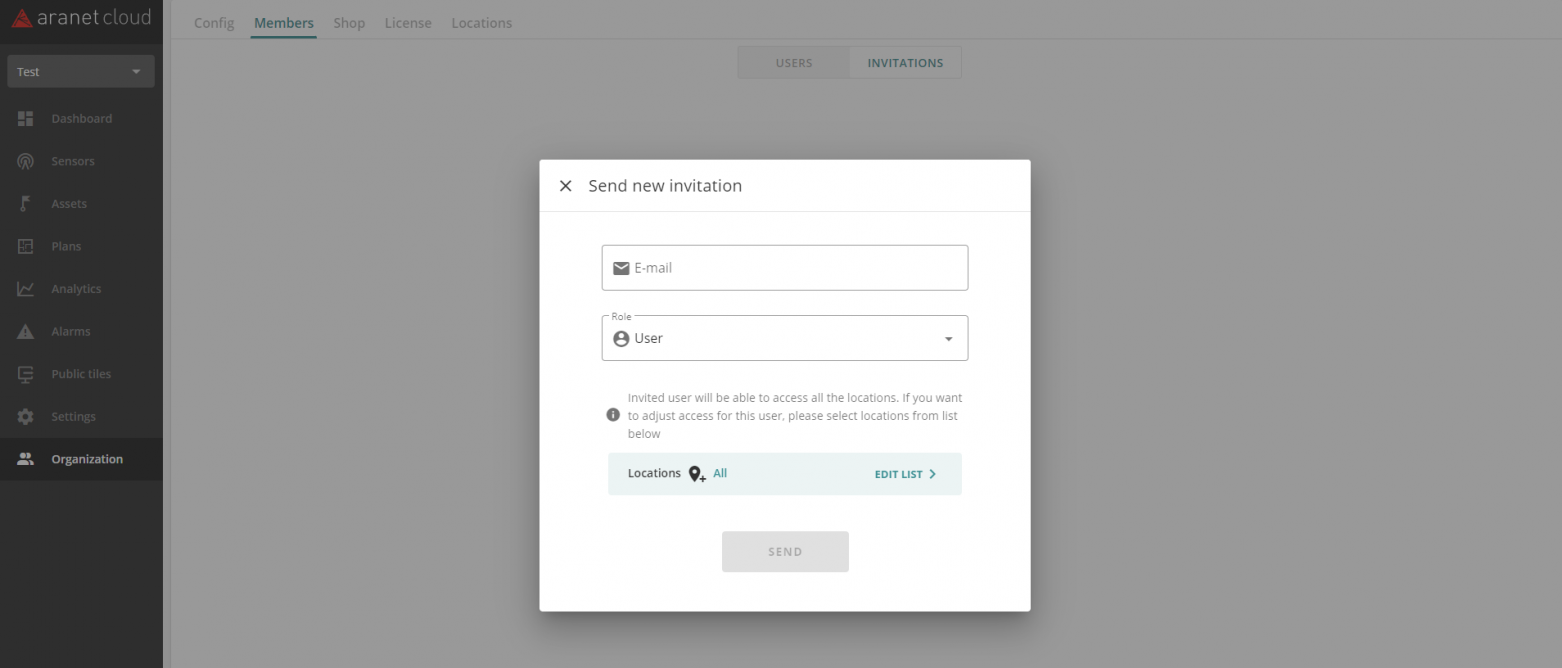
This can be done from WORKSPACE menu -> MEMBERS tab -> INVITATIONS subsection:

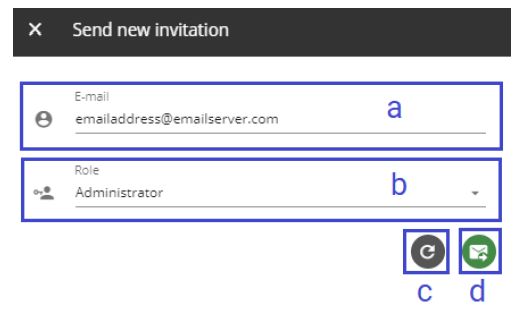
To create a new e-mail invitation press SEND NEW INVITATION button. This will open new pop-up window, where the details on the new e-mail invitation should be entered:

a. E-mail – allows specifying the e-mail address where the invitation should be sent;
b. Role – allows selecting the role (User or Administrator) that account will have in the workspace when invitation will be accepted;
c. Reset - allows resetting all unsaved changes in the window;
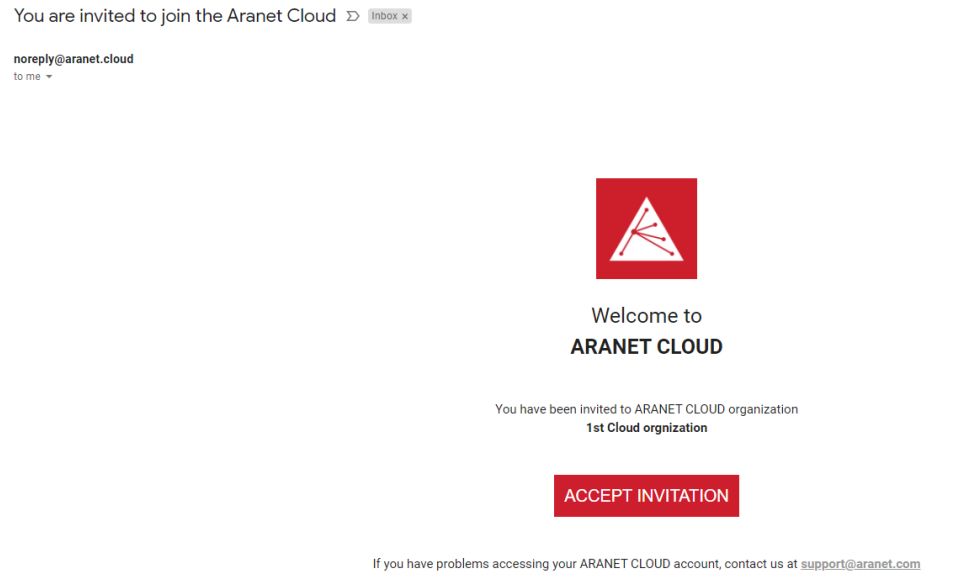
d. Send - click to send the invitation.When the invited person receives the invitation e-mail in the mailbox, she/he first needs to accept the invitation by clicking on ACCEPT INVITATION button in the received e-mail message:

This will open a new page in the web browser where the invitation should be confirmed by clicking on JOIN button:

After that system will evaluate by e-mail address whether the person has an already registered account in the Aranet Cloud system:
1) If the person has a registered account, then the system will offer to LOGIN INTO ARANET CLOUD.
After login the Aranet Cloud account will be switched to the workspace that the person just joined:

2) If the person does not have a registered account in the Aranet Cloud system, then the person first needs to register a new account in Aranet Cloud with the same e-mail address where the invitation message was delivered by pressing REGISTER button:

After registration is done the person just needs to login to the registered Aranet Cloud account to see the data from the workspace the person just joined.
You have to log in to reply.